Angular 2 你好世界
有多种方法可以开始你的第一个 Angular JS 应用程序。
-
一种方法是从头开始做所有事情,这是最困难的方法,但不是首选方法。由于存在许多依赖项,因此很难获得此设置。
-
另一种方法是使用 Angular Github 上的快速入门。这包含开始所需的代码。这通常是所有开发人员都选择的,这也是我们将为 Hello World 应用程序展示的内容。
-
最后一种方法是使用 Angular CLI。我们将在单独的章节中详细讨论这一点。
以下是通过 github 启动和运行示例应用程序的步骤。
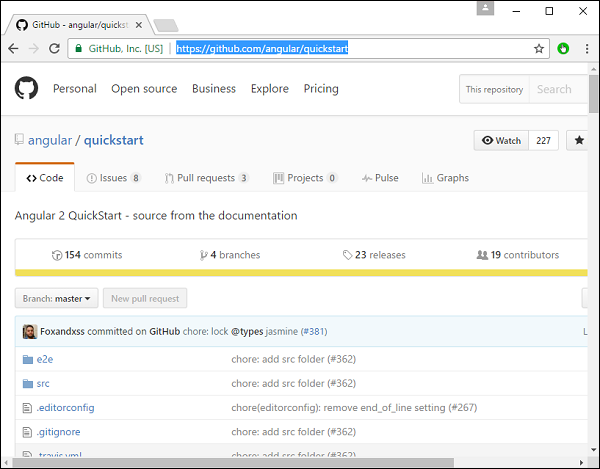
步骤 1 : 去github网址—— https://github.com/angular/quickstart
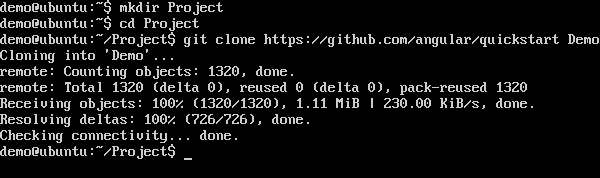
步骤 2 :进入你的命令提示符,创建项目目录。这可以是一个空目录。在我们的示例中,我们创建了一个名为 Project 的目录。
步骤 3 : 接下来,在命令提示符下,进入该目录并发出以下命令,在本地系统上克隆 github 存储库。你可以通过发出以下命令来执行此操作:
git clone https:// github.com/angular/quickstart 演示
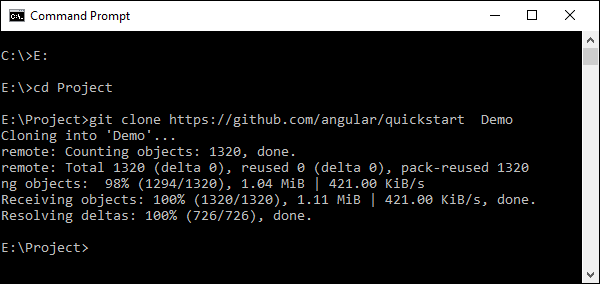
这将在你的本地机器上创建一个示例 Angular JS 应用程序。
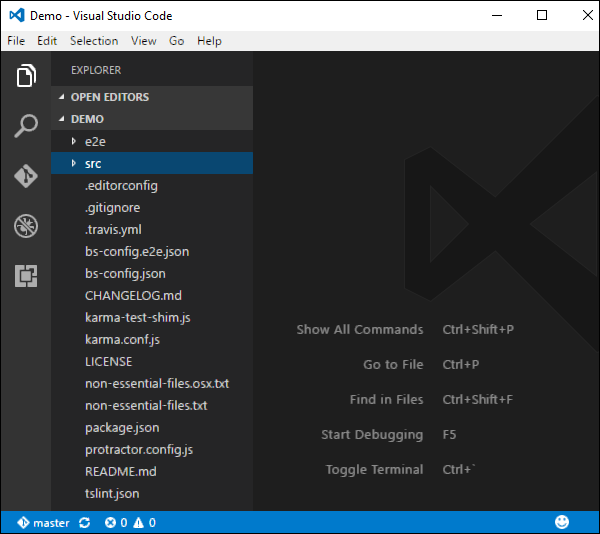
步骤 4 : 在 Visual Studio 代码中打开代码。
步骤 5 : 再次进入命令提示符并在你的项目文件夹中发出以下命令:
npm install
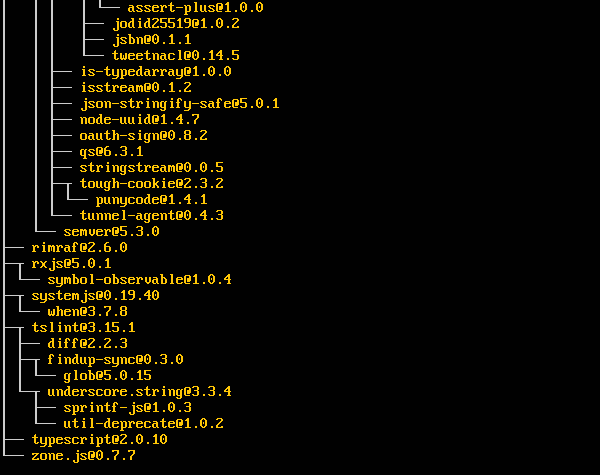
这将安装 Angular JS 应用程序工作所需的所有必要包。

完成后,你应该会看到一个安装了所有依赖项的树结构。

步骤 6 :进入文件夹Demo→src→app→app.component.ts。找到以下几行代码:
import { Component } from '@angular/core';

@Component ({
    selector: 'my-app',
    template: `<h1>Hello {{name}}</h1>`,
})
export class AppComponent  { name = 'Angular'; }
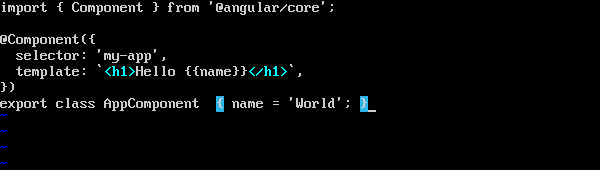
并将Angular关键字替换为World,如下图:
import { Component } from '@angular/core';

@Component ({
    selector: 'my-app',
    template: `<h1>Hello {{name}}</h1>`,
})
export class AppComponent  { name = 'World'; }
在 Angular 2 应用程序的项目创建过程中还会创建其他文件。目前,你无需担心其他代码文件,因为它们都包含在你的 Angular 2 应用程序中,并且不需要为 Hello World 应用程序进行更改。
我们将在后续章节中详细讨论这些文件。
注意 :Visual Studio Code 会自动编译你所有的文件,并为你所有的 typescript 文件创建 JavaScript 文件。
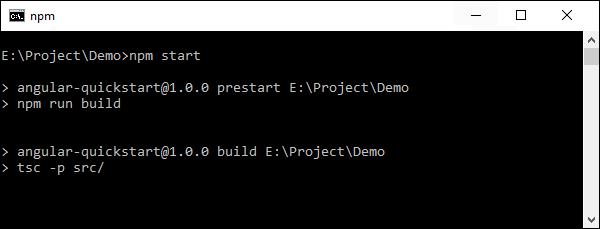
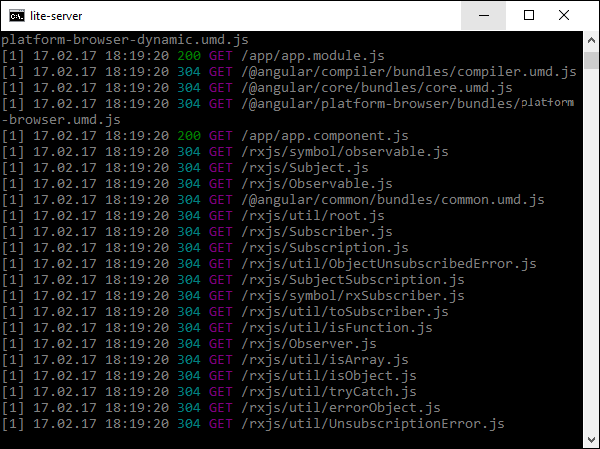
步骤 7 : 现在进入你的命令提示符并发出命令 npm start。这将导致 Node 包管理器启动一个精简的 Web 服务器并启动你的 Angular 应用程序。
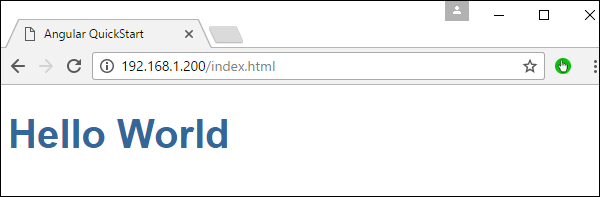
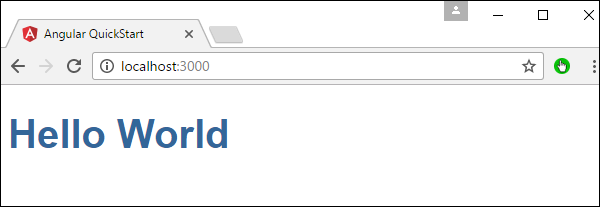
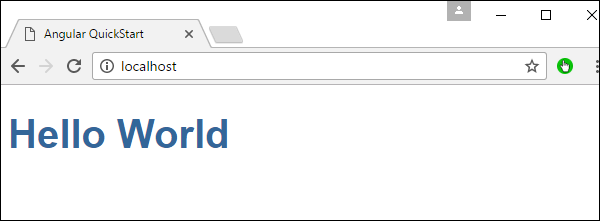
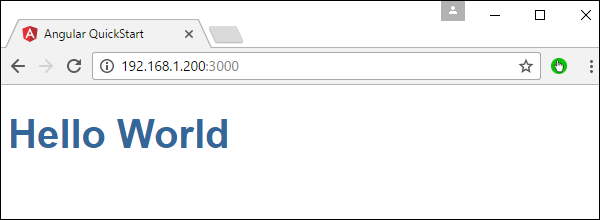
Angular JS 应用程序现在将在浏览器中启动,你将在浏览器中看到“Hello World”,如以下屏幕截图所示。
部署
本主题重点介绍上述Hello world应用程序的部署。由于这是一个 Angular JS 应用程序,它可以部署到任何平台上。你的开发可以在任何平台上进行。
在这种情况下,它将在 Windows 上使用 Visual Studio 代码。现在让我们看看两个部署选项。
在 Windows 上的 NGNIX 服务器上部署
请注意,你可以使用任何平台上的任何 Web 服务器来托管 Angular JS 应用程序。在这种情况下,我们将以流行的 Web 服务器 NGNIX 为例。
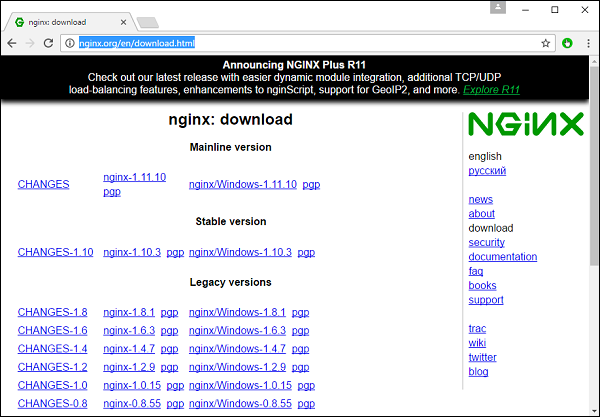
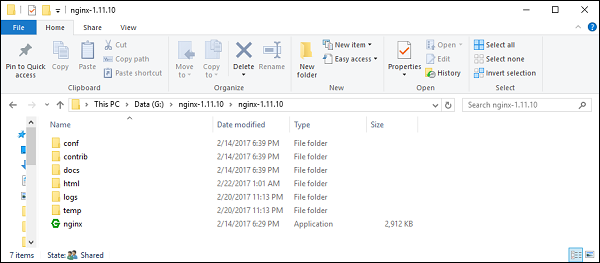
步骤 1 : 从以下url下载NGNIX web server http://nginx.org/en/download.html
步骤 2 :解压下载的zip文件后,运行nginx exe组件,使web服务器在后台运行。然后,你将能够转到 url 中的主页 – http://localhost
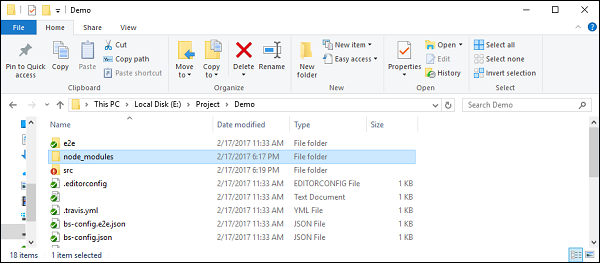
步骤 3 : 进入 Windows 资源管理器中的 Angular JS 项目文件夹。
步骤 4 : 复制 Project → Demo → node-modules 文件夹。
步骤 5 : 复制Project → Demo → src 文件夹中的所有内容。
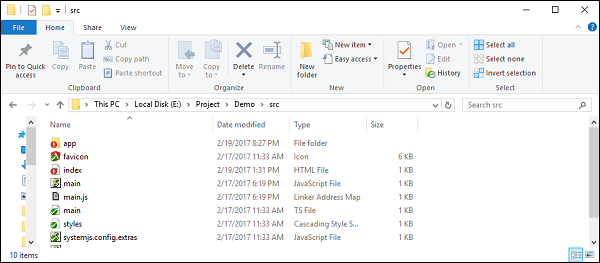
步骤 6 : 将所有内容复制到 nginx/html 文件夹中。
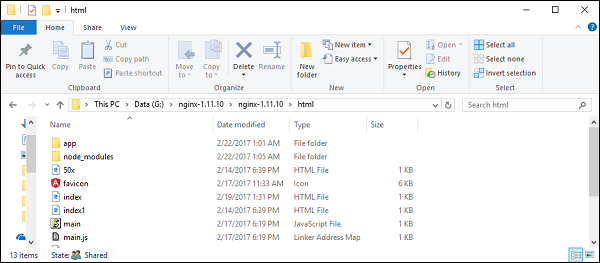
现在进入网址: http://localhost ,你将实际看到 hello world 应用程序,如以下屏幕截图所示。
在 Ubuntu 上设置
现在让我们看看如何将相同的 hello world 应用程序托管到 Ubuntu 服务器上。
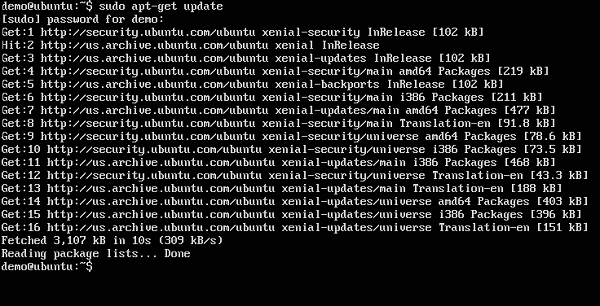
步骤 1 : 在你的 Ubuntu 服务器上发出以下命令来安装 nginx。
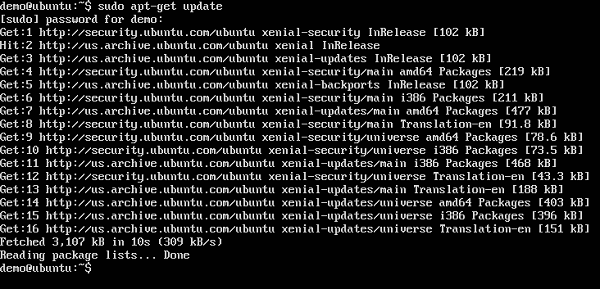
apt-get update
上述命令将确保系统上的所有软件包都是最新的。

完成后,系统应该是最新的。
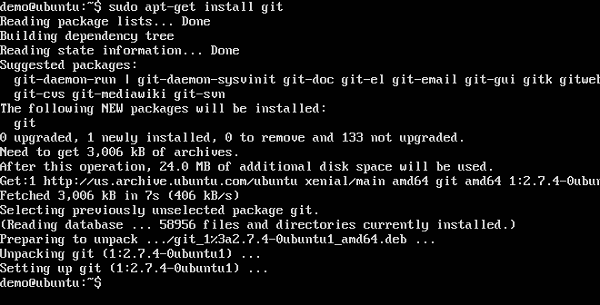
步骤 2 : 现在,通过发出以下命令在 Ubuntu 服务器上安装 GIT。
sudo apt-get install git

完成后,GIT 将安装在系统上。
步骤 3 : 检查 git 版本,发出以下命令。
sudo git –version

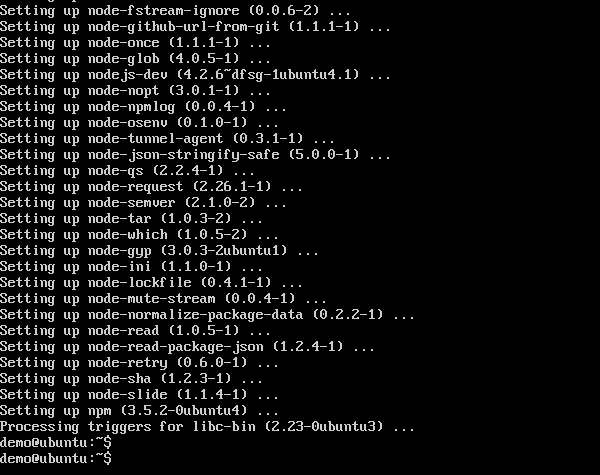
步骤 4 : 安装 npm 这是 Ubuntu 上的节点包管理器。为此,请发出以下命令。
sudo apt-get install npm

一旦完成, npm 将安装在系统上。
步骤 5 : 检查 npm 版本,发出以下命令。
sudo npm -version

步骤 6 : 接下来,安装 nodejs .这可以通过以下命令完成。
sudo npm install nodejs

步骤 7 : 要查看 Node.js 的版本,只需发出以下命令。
sudo nodejs –version

步骤 8 :创建项目文件夹,使用以下git命令下载github starter项目。
git clone https:// github.com/angular/quickstart 演示

这将下载本地系统上的所有文件。
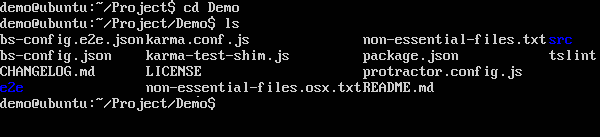
你可以浏览该文件夹以查看文件是否已从 github 成功下载。
步骤 9 : 接下来对 npm 发出以下命令。
npm install
这将安装 Angular JS 应用程序工作所需的所有必要包。

完成后,你将看到系统上安装的所有依赖项。
步骤 10 :进入文件夹Demo→src→app→app.component.ts。如果需要,请使用 vim 编辑器。找到以下几行代码:
import { Component } from '@angular/core';

@Component ({
    selector: 'my-app',
    template: '<h1>Hello {{name}}</h1>';
})
export class AppComponent { name = 'Angular'; }
并将 Angular 关键字替换为 World,如下面的代码所示。
import { Component } from '@angular/core';

@Component ({
    selector: 'my-app',
    template: '<h1>Hello {{name}}</h1>';
})
export class AppComponent { name = 'World'; }
在 Angular 2 应用程序的项目创建过程中还会创建其他文件。目前,你无需担心其他代码文件,因为它们已包含在你的 Angular 2 应用程序中,无需针对 Hello World 应用程序进行更改。
我们将在后续章节中详细讨论这些文件。
步骤 11 : 接下来,安装可以用来运行 Angular 2 应用程序的 lite 服务器。你可以通过发出以下命令来执行此操作:
sudo npm install –save-dev lite-server

完成后,你将看到完成状态。你无需担心警告。

步骤 12 : 通过以下命令创建指向节点文件夹的符号链接。这有助于确保节点包管理器可以找到 nodejs 安装。
sudo ln -s /usr/bin/nodejs /usr/bin/node

步骤 13 : 现在是时候通过 npm start 命令启动 Angular 2 应用程序了。这将首先构建文件,然后在前面步骤中安装的 lite 服务器中启动 Angular 应用程序。
发出以下命令:
sudo npm start

完成后,你将看到 URL。
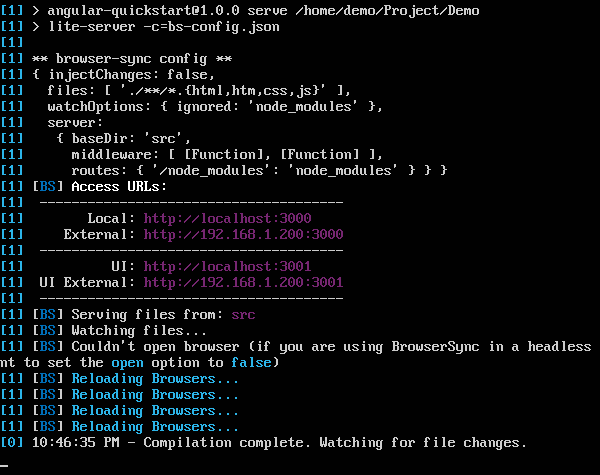
如果你转到 URL,你现在将看到 Angular 2 应用程序正在加载浏览器。
在 Ubuntu 上部署 nginx
注意 :你可以使用任何平台上的任何 Web 服务器来托管 Angular JS 应用程序。在这种情况下,我们将以流行的 Web 服务器 NGNIX 为例。
步骤 1 : 在你的 Ubuntu 服务器上发出以下命令,将 nginx 安装为 Web 服务器。
sudo apt-get update
此命令将确保系统上的所有软件包都是最新的。

完成后,系统应该是最新的。
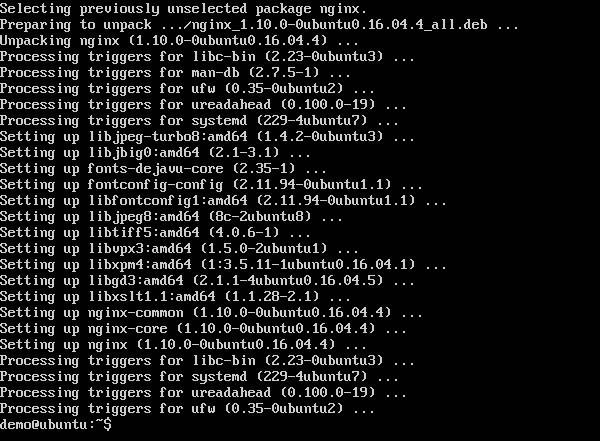
步骤 2 : 现在发出以下命令进行安装 nginx .
apt-get install nginx

完成后,nginx 将在后台运行。
步骤 3 : 运行以下命令确认 nginx 服务正在运行。
ps –ef | grep nginx

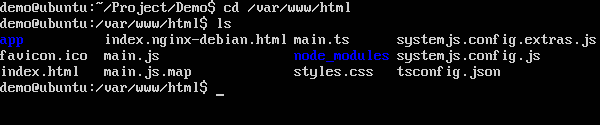
现在默认情况下,nginx 的文件存储在 /var/www/html 文件夹中。因此,授予将 Hello World 文件复制到此位置所需的权限。
步骤 4 : 发出以下命令。
sudo chmod 777 /var/www/html

步骤 5 : 复制文件 使用任何方法将项目文件复制到/var/www/html文件夹中。
现在,如果你浏览到 URL: http://192.168.1.200/index.html 你会发现 Hello world Angular JS 应用程序。